AuraQ has vast experience helping organisations find the gaps that can be filled to enhance their business. This could be to improve efficiency, integrate legacy systems or deliver new portals and strategic applications to create competitive advantage. Contact us to request a free, no obligation Gap Analysis.
Mendix low-code fundamentals – mastering microflows
Welcome to our fourth installment of our Mendix Fundamentals series, a blog and YouTube tutorial providing explanations and walk-throughs to key concepts used in the Mendix low-code development platform. Previous episodes in the series have covered building the domain model (episode 1), creating pages for applications (episode 2), and applying security (episode 3). Our next topic (episode 4) covers how logic can be applied through microflows.
Continuing on from the application built in the previous fundamental episodes, this episode highlights how to provide further functionality through microflows. In this blog, we will highlight the key concepts covered in our step-by-step video tutorial with the intention of helping you understand the basic microflow principles. You can follow along by watching episode 4, visualising how these principles can be applied in application development, or use this blog to develop a better understanding of how microflows work in the Mendix application development platform.
Throughout the series, we will be sharing our knowledge through the build of an event planning app for trail walking events. By following the development process, you will be shown best practices and tips. For the tutorials, we assume some basic Mendix knowledge. To support this, there is lots of material available on the Mendix Academy where you can access the online learning paths.
What are microflows?
Microflows are used to define and execute business logic in applications. It is a visual method of developing logic using a business process model and notation. In traditional development, building logic can result in large, confusing blocks of code that can be challenging to maintain. But with the visual nature of microflows that break down logic, creating complex business logic in applications becomes much more streamlined. Just like programming languages, microflows allow a range of actions to be used, from user actions and database operations through to calls to external services. To get a better understanding of the basic actions provided in microflows, we will highlight the most commonly used components below.
Start and end events
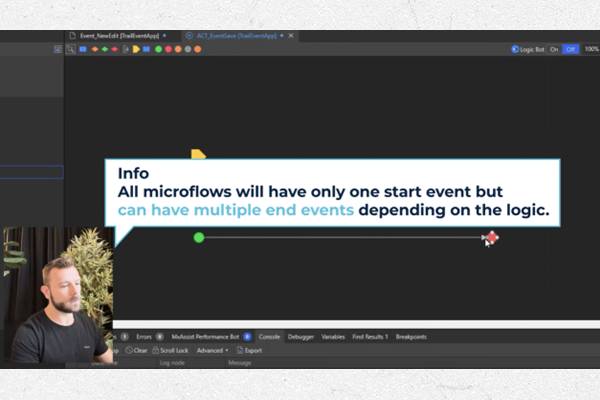
Every microflow must begin with a start event, which highlights the beginning of the logic. While a microflow can only have one start event, it can contain one or more end events. Similar to how functions in traditional programming can have multiple different return statements but only one is called, the flow of a microflow will finish as soon as an end event is reached.
Parameters and variables
Variables are known in programming to be used for storing data values. This is no different in microflows, which use variables to store, and re-use data where needed. Variables can take on a range of primitive data types such as string, decimal, and boolean.
In traditional programming, a parameter acts as a variable inside a method or function. Similarly, a parameter in Mendix allows you to pass in data to be used in the microflow. It collects the data from the location where the microflow is triggered. This is especially useful when adding business logic to pages created in Mendix, whereby objects on the page can be passed into a microflow as parameters. Additionally, parameters can also take on the same data types as regular variables.
Sub-microflows
Even the visual environment of microflows can become overcrowded for logic that spans multiple functions. In these cases, it can be useful to split microflows up into sub-microflows to separate individual functions. In our video tutorial, we show a sub-microflow being used for providing validation logic. Using sub-microflows can promote logic reusability, whereby the sub-microflow can be called by other microflows. This helps the maintenance of microflow logic, where the same microflow can be used multiple times instead of trying to maintain multiple different microflows that share identical logic.
Decisions
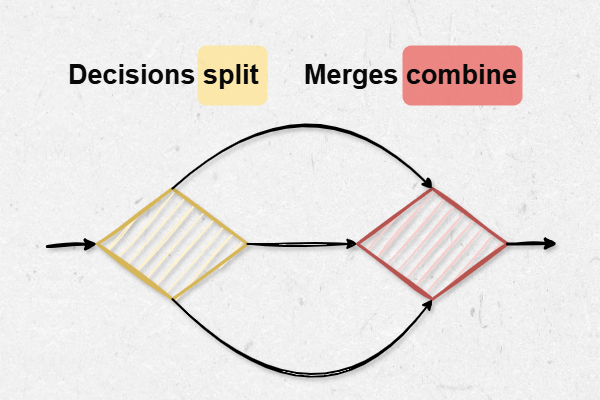
A decision in a microflow is an element that makes a choice based on a condition and follows one, and only one, of the outgoing sequence flows. The flow of a microflow will change on the outcome of a decision, allowing for specific actions to be triggered depending on a decision’s outcome. Within a decision, you can choose between using an expression or a rule. Commonly, expressions are used as they simply define the condition of the decision. Rules act in a similar way to sub-microflows, where you can use the outcome of a rule to determine the condition of a decision. More information on implementing expressions and rules can be found in the Mendix documentation.
Merge
A merge can be used to combine flows into one. This is useful for when a microflow flow has been split (by a decision, for example) and needs to be re-joined to use common actions. By utilising the merge action, microflows can be simplified by using common actions on a single flow instead of duplicating actions onto multiple flows and overcomplicating the logic.
Retrieve
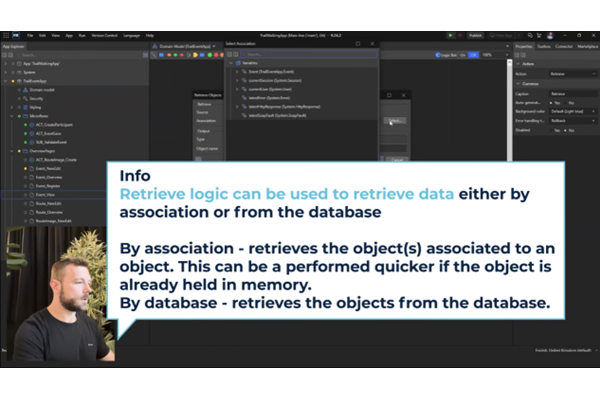
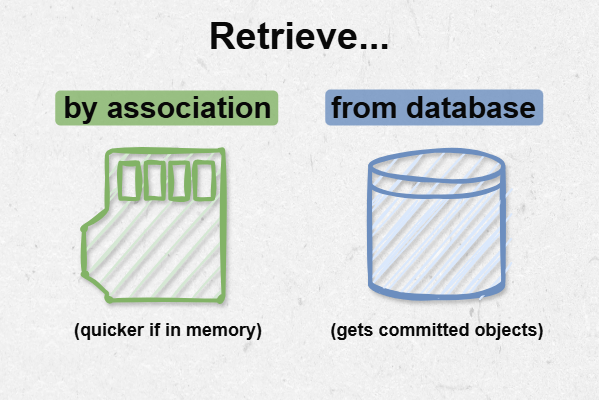
Retrieve actions allow objects, or a list of objects, to be brought into microflows. Retrieving objects can either be done by association or from the database. Using the association option can be useful when objects are held in memory or if you need to access the uncommitted version of objects. Using the database option will give you the committed version of any persistable object within your application. Choosing which option to use will be unique to your logic and the Mendix documentation can help you if you’re unsure which to use.
Loops
Loops are useful for when a list needs to be iterated over. For example, this could happen when attributes in a list of objects need to be modified. In our video tutorial, we show the loop action being utilised by completing the induction of multiple participants in an event at once. The loop action comes in two types: for each and while. The “for each” loop iterates over each item in a list, allowing you to access each item individually. The “while” loop continuously loops until a condition you set is met. Typically, the for loop is used when you know the number of required loop iterations in advance (the length of a list, for example), and the while loop is used when the number of loops required cannot be determined in advance.
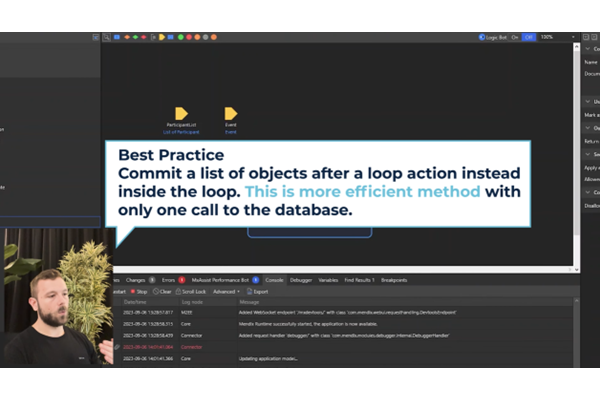
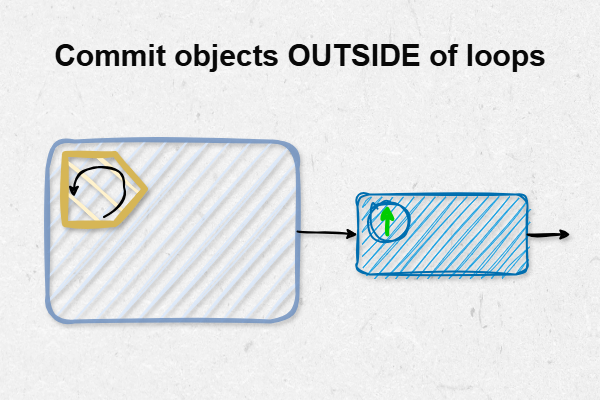
To follow best practice, avoid committing objects in loop. This is because each commit is a call to the database, which could have a negative impact when dealing with large lists. Instead, use a commit action after the loop has finished to commit the list of objects in one go.
Expanding functionalities further
Microflow functionality can be expanded with custom Java actions or by downloading from the Mendix Marketplace, which offers a rich repository of reusable components that can significantly accelerate development productivity. These components are shared in the Mendix community as open-source components or commercial products. When you need to implement more complex logic such as cropping images, encrypting strings, or using AWS services, searching the Marketplace should be your first step to see if someone else has already implemented such logic that you can reuse (see episode 2 in our intermediate series for more information on Marketplace Modules).
What Next?
If you’ve been following along with the YouTube tutorial, your application is now set up where you have added validation to your events and Event Managers of the app can now complete the induction for participant users. If you would like to learn more about microflows, Mendix provides multiple learning paths that show practical examples. Additionally, we have another blog that provides deeper detail about using microflows efficiently to retrieve data.
Episode 4 concludes our Mendix fundamental series. Be sure to stay updated with the AuraQ YouTube channel where we regularly release videos to covers more advanced topics within Mendix. We hope you found this blog helpful, if you have any comments or questions, please do not hesitate to get in touch and don’t forget to check out the full tutorial video on YouTube!


